Tip: how to speed your print + cut workflow with Illustrator and RasterLink 6.
This is a “workaround” for avoiding the Mimaki Tools / Finecut plug-in for Illustrator (in case your versions aren’t compatible, it doesn’t install, or otherwise doesn’t work for you). The Mimaki Tools is easily available as a download on the Mimaki website. However, I found I was using this for all of my print + cut jobs because it’s a lot faster, easier, and doesn’t require any special plugins.
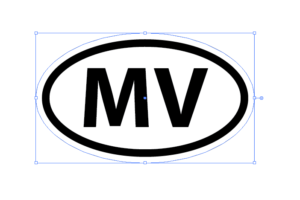
1. Open your file in Illustrator. I am assuming Illustrator CC, I’m using 2017.1.0. Keep in mind this is only for Mimaki RasterLink 6, not 5.
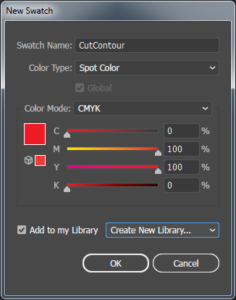
2. Create a couple of new spot color swatches “CutContour” and “CutContour1” in Illustrator.
Window Menu options… make sure “Swatches” is checked/shown.
Click the top right menu item for Swatch options and select “New Swatch…” or click the little “new swatch” icon to create a new one.
3. In the New Swatch dialog…
Swatch Name: CutContour
Color Type: Spot Color
Color Mode: CMYK
4. Select the stroke / line that you want cut and assign this spot color swatch to the stroke.
5. In the Stroke dialog (Window Menu option… Stroke), with the line selected, enter “0.01 pt” as the Weight / line thickness.
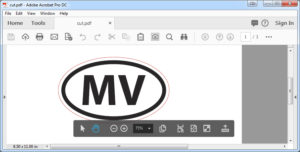
6. Save your file as a PDF. Oh, and make sure that the layer is, indeed, printable.
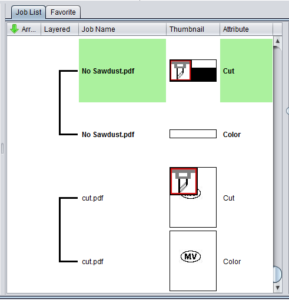
Now go over to RasterLink and open the file. It should automatically create a separate PRINT and CUT job in the list, and join them together.
A. Go to the general print menu option (green star) for this print job.
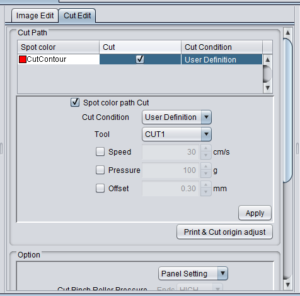
B. Go to the “Cut Edit” tab in the middle second — tab is at the top. Keep in mind that “Image Edit” is the default selected tab.
C. In the “Cut Path” list, CutContour should be shown with a red next to it. Make sure it is checked and “Spo color path Cut” is checked.
D. Select “Cut Condition” and select “User Definition”. This will use the tools as listed in the cut tool menu you set up on the actual printer. You will need to have done your tool definition already for kiss cut, thru cut, etc.
E. Select your tool that you want to match to the tool. Mine reads:
CutContour / User Definition
Cut Condition: User Definition
Tool: Cut1
Keep in mind you MUST hit “Apply” for the settings to take! Very important.
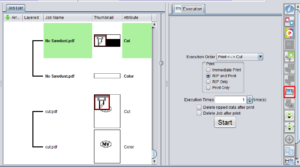
F. Then go to the print / rip menu item (looks like a printer) and select Execution Order: “Print <–> Cut” to run it.
Sounds like a lot of steps but I can blaze thru all of this and get a job started in 1-2 minutes.
NOTE: If you’re laminating before cutting, i.e. printing, laminating, then re-loading into the CJV, you’ll need to add crop marks in the General Print menu.

